Imagine a bite‑sized pumpkin pie that’s perfectly crisp on the outside, creamy in the middle, and ready straight from the freezer. Frozen Pumpkin Pie Bites with Crust bring that classic autumn comfort into a handheld treat that’s both elegant and kid‑friendly.
What sets this recipe apart is the buttery shortbread crust that locks in the silky pumpkin filling, creating a contrast of textures that feels indulgent without being overly heavy.
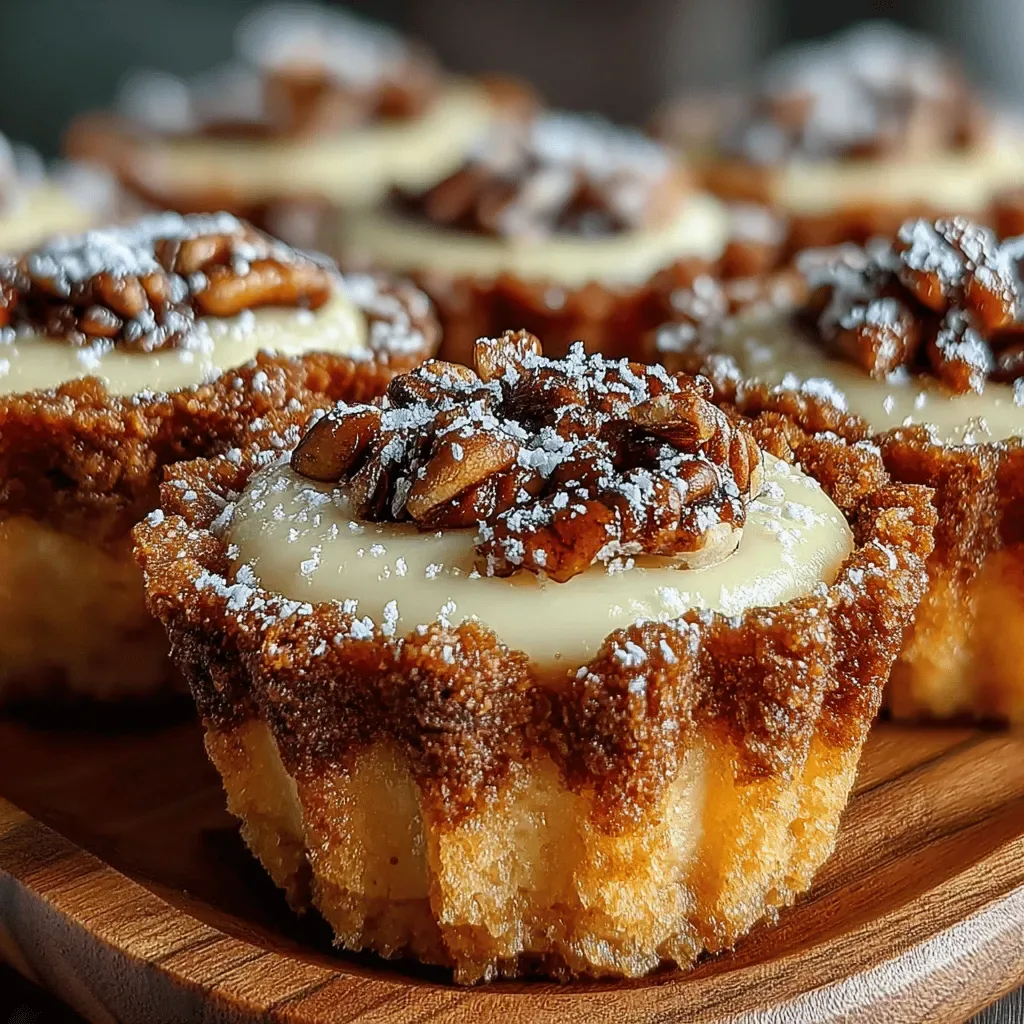
These mini pies are ideal for holiday parties, brunch buffets, or a quick after‑school snack. Anyone who loves pumpkin spice will adore them, and they look beautiful on any dessert platter.
The process is straightforward: blend a simple crust, whisk a spiced pumpkin custard, assemble the bites, freeze, then bake until golden. The result is a flawless, freezer‑friendly dessert you can make ahead and serve on demand.
Why You'll Love This Recipe
Hand‑Held Convenience: Each bite is perfectly portioned, making it easy to serve, transport, and enjoy without the need for a fork or plate.
Make‑Ahead Friendly: The bites can be assembled days in advance, frozen, and baked whenever the occasion calls for a pumpkin‑spiced treat.
Texture Contrast: A buttery, crumbly crust embraces a silky, custard‑like pumpkin filling, delivering a satisfying bite every time.
Seasonal Flavor Boost: Warm spices like cinnamon, nutmeg, and ginger shine through, capturing the essence of autumn in a single bite.
Ingredients
The foundation of these bites is a simple shortbread crust that provides a buttery crunch. The filling relies on pure pumpkin puree, heavy cream, and a blend of warm spices to create a custard that sets beautifully after baking. A light dusting of powdered sugar adds a finishing sparkle, while a pinch of sea salt balances the sweetness.
Crust
- 1 ½ cups graham‑cracker crumbs
- ¼ cup granulated sugar
- ⅓ cup unsalted butter, melted
- ½ teaspoon ground cinnamon
Filling
- 1 ¾ cups pumpkin puree (canned or fresh)
- ½ cup heavy cream
- ¼ cup brown sugar
- 2 large eggs
- 1 teaspoon vanilla extract
- ½ teaspoon ground ginger
- ½ teaspoon ground nutmeg
- ¼ teaspoon ground cloves
- ¼ teaspoon sea salt
Finishing Touch
- Powdered sugar, for dusting
The graham‑cracker crust supplies a sweet, buttery base that holds the custard without becoming soggy. Pumpkin puree delivers natural sweetness and that unmistakable autumn hue, while the cream and eggs give the filling its silky structure. The spice blend infuses each bite with warmth, and the final dusting adds a festive sparkle that makes these bites look as good as they taste.
Step-by-Step Instructions
Preparing the Crust
In a medium bowl combine graham‑cracker crumbs, granulated sugar, ground cinnamon, and the melted butter. Stir until the mixture resembles wet sand. This cohesion is essential for a crust that holds together after baking.
- Press into Molds. Spoon about 1‑tsp of the crumb mixture into each cavity of a mini muffin tin. Use the back of a spoon or a small glass to press firmly, creating an even layer that will form the bite’s base.
- Pre‑Bake. Place the tin on a baking sheet and bake at 350°F (175°C) for 6‑8 minutes, or until the crust turns lightly golden. This step sets the crust, preventing it from becoming soggy when the filling is added.
Making the Pumpkin Filling
While the crust cools, whisk together the wet ingredients in a large bowl: pumpkin puree, heavy cream, brown sugar, eggs, and vanilla extract. Whisk until smooth, then stir in the spice blend and sea salt. The mixture should be glossy and free of lumps.
Assembling & Freezing
Once the crusts are firm, fill each cavity with about ½‑tsp of the pumpkin mixture, smoothing the top with the back of a spoon. This amount ensures a perfect bite‑size ratio of crust to filling.
- Freeze Quickly. Transfer the entire tin to the freezer and let the bites solidify for at least 1 hour. Rapid chilling prevents the filling from leaking during the final bake.
- Store for Later. After freezing, pop the bites out of the tin and place them in an airtight freezer bag. They’ll keep for up to 3 months, ready for a quick bake whenever you crave pumpkin.
Baking the Frozen Bites
Preheat the oven to 375°F (190°C). Arrange the frozen bites on a parchment‑lined baking sheet, leaving a small gap between each. Bake for 12‑15 minutes, or until the filling is set and the crust is a deep golden brown. A gentle jiggle in the center indicates perfect doneness. Let them cool for 5 minutes before dusting with powdered sugar and serving.
Tips & Tricks
Perfecting the Recipe
Chill the Butter. Cold, solid butter creates a flakier crust. If the butter melts while mixing, refrigerate the crumb mixture for 10 minutes before pressing.
Don’t Over‑Mix the Filling. Over‑whisking can incorporate too much air, leading to cracks. Mix just until smooth for a velvety texture.
Use a Mini Muffin Tin. Uniform cavities guarantee consistent bite size and even baking across the batch.
Flavor Enhancements
Add a splash of bourbon or maple syrup to the filling for deeper caramel notes. A pinch of crystallized ginger finely chopped into the crust adds a subtle zing that brightens the overall flavor.
Common Mistakes to Avoid
Avoid baking the bites on a hot rack; heat from the metal can cause the crust to brown too quickly while the center remains runny. Also, never skip the pre‑bake of the crust—without it, the base will become soggy after the filling sets.
Pro Tips
Use a Kitchen Scale. Precise measurements for the crumb mixture guarantee a consistent crust thickness.
Freeze on a Wire Rack. Placing the tin on a rack while freezing allows air to circulate, speeding up the solidification process.
Check for a Slight Jiggle. The center should wobble just a touch when you gently shake the pan; this indicates the custard is set but still creamy.
Variations
Ingredient Swaps
Replace graham‑cracker crumbs with finely crushed ginger snaps for an extra spice kick. Swap heavy cream for coconut milk to create a dairy‑free version that adds a subtle tropical note. For a nutty twist, stir toasted pecans into the crust mixture before pressing.
Dietary Adjustments
Use gluten‑free graham‑cracker crumbs or a blend of almond flour and oat flour for a gluten‑free crust. Substitute the eggs with a ½‑cup of silken tofu blended smooth for a vegan-friendly filling. Reduce the brown sugar or use a low‑calorie sweetener to cut down on sugar without sacrificing flavor.
Serving Suggestions
Serve the bites on a slate platter with a side of whipped cinnamon‑infused cream. Pair them with a hot caramel apple cider for a cozy autumn spread, or drizzle a thin ribbon of dark chocolate for an indulgent holiday twist.
Storage Info
Leftover Storage
Allow the bites to cool completely, then transfer them to a single layer in an airtight container. Refrigerate for up to 4 days or freeze for up to 3 months. If freezing, separate layers with parchment paper to keep each bite intact.
Reheating Instructions
Reheat frozen bites directly in a pre‑heated 350°F (175°C) oven for 8‑10 minutes, or until the crust regains its crispness and the filling is warmed through. For a quicker option, microwave a single bite on medium power for 30‑45 seconds, then finish under a broiler for 1 minute to restore the crust.
Frequently Asked Questions
This guide walks you through every step of creating Frozen Pumpkin Pie Bites with a buttery crust, from mixing the perfect base to storing the finished treats for future cravings. The recipe is adaptable, easy to prep ahead, and delivers a classic pumpkin flavor in a fun, bite‑size format. Feel free to experiment with spices, sweeteners, or crust variations—your kitchen, your rules. Enjoy the warm, comforting taste of autumn any time you like!


